SendGrid has a very simple system of domain authentication support.
Information needed before starting:
- Username/password of SendGrid.
- Account with administrator access to your Boomer Commerce Site.
- Account with administrator access to your domain host (GoDaddy, Yahoo, etc…)
Configuring SendGrid
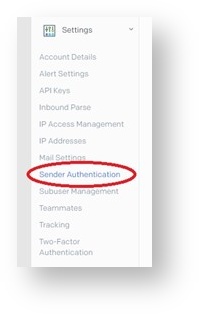
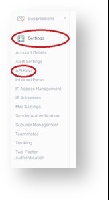
- First, you will need to log in to your SendGrid account and look in the sidebar, under “Settings” for an Option that says “Sender Authentication”.
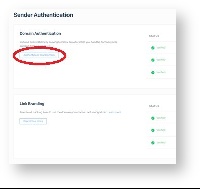
- In this section you will see a button that says “Authenticate Your Domain” click it for a walkthrough on how to properly set up the links needed to prove you own the website in question.
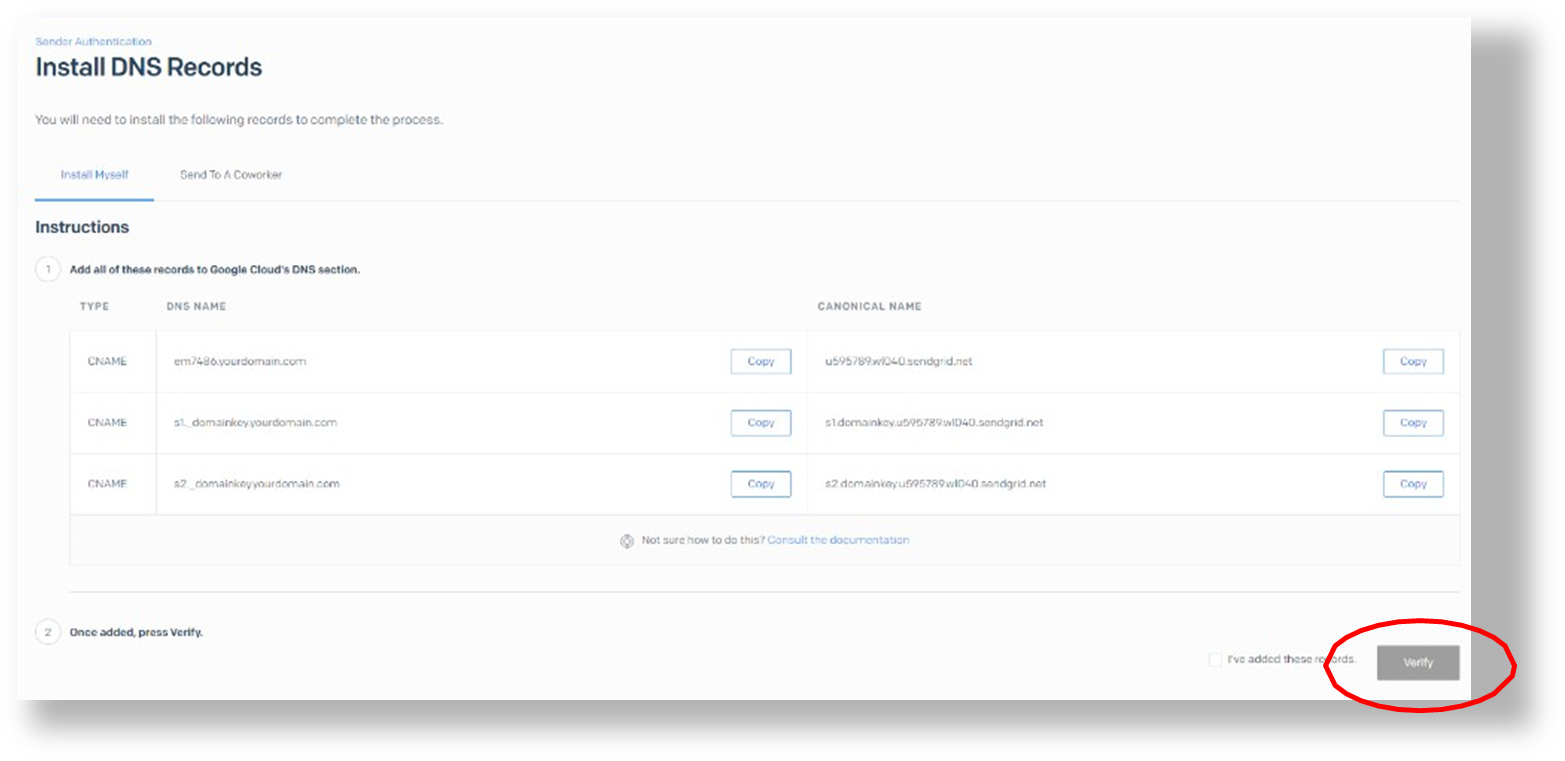
- After selecting your domain host from the list of options, a set of instruction about how to post records to your domain to prove you own it will appear. These are very straightforward with cut and paste options for each field. They also allow you to email them to a coworker if someone else controls these records for your company.
Configuring SPF Records for SendGrid
- The example given in this section is specifically for GoDaddy but may be applied to other domain hosts via whatever type of admin portal they provider for their services. The type of record needed is either “CNAME” or whatever is specified by the SendGrid Instruction screen.
- Log in to your domain service provider portal with administrative credentials and go to the DNS Management page of the web domain being used for the outbound emails in Boomer.
- Add a new record, the type should be “CNAME” or whatever is specified by SendGrid for your domain host.
- Fill in the information specified by They even allow you to copy and paste them right from the SendGrid DNS Records page.
- Save the record and ensure the changes are committed to the domain host service. It may take 5-10 minutes to have these updates process on their servers depending on the specific host.
- Once complete select “Verify” to check that the records are visible to SendGrid and you should be all set.
Link Branding
Email link branding (formerly “Link Whitelabel”) allows all of the click-tracked links, opens, and images in your emails to be from your domain instead of from sendgrid.com. Link Branding can be enabled or disabled within SendGrid. If it is disabled, the Boomer links will work as they should. If you decide to enable it, please know you need to fully complete the setup which involves adding DNS records to each applicable domain for branding. This process allow email hosts and domain providers to better track your content so that clicks and lookups on your emails always tie back to your own website (e.g. www.yourcompany.com) for tools like Google Analytics to be able to track traffic, sales, and other business data about your business home pages.
Configuring API Keys for SendGrid
This section covers implementing API Keys (required after January 13th, 2021) in place of a username and password in SendGrid
- If you haven’t already done so, log in to your SendGrid account portal and expand “Settings” at the bottom of the sidebar on the left.
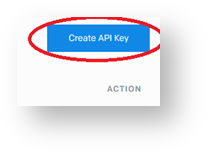
- Next Select the “Create API Key” Button on the right hand side of the screen that loads. You may also see previously created API Keys listed here but unless you have the code saved from creating them initially you will need to generate a new one for Boomer to use.
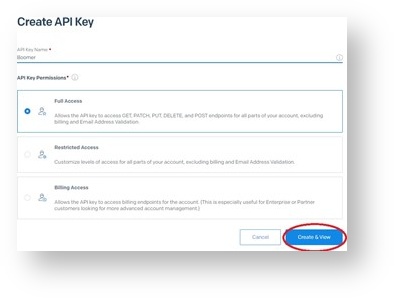
- On the following screen you will be asked to give the Key a recognizable name and an access profile. Unless you are an advanced user, we highly recommend “Full Access” so that Boomer email features are not blocked by SendGrid. If you are comfortable with doing a custom configuration, all SMTP and mail privileges must be enabled at a minimum for Boomer to function correctly with your
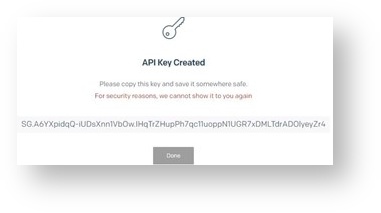
- On the next screen a critical code appears you will need to save for future use with this API Key. You must copy and save this code somewhere locally on your computer or written down as you will never be able to view it again from the SendGrid account itself.
- In the event you lose the code and need to update it in Boomer in the future, you can simply generate another API Key using the same process in SendGrid and generate a new key for Boomer to use.
- Select “Done” once you have saved the code and you should see your API key listed in the API Keys Setting Screen for future reference.
You will now need to configure your Boomer Commerce site to accept and use the API Key you configured in SendGrid.
Configuring Boomer Commerce
- First, log in to your Boomer Commerce admin portal at (xxx.boomerecommerce.com/Admin). Ensure you log in with an authorized administrator account for your organization.
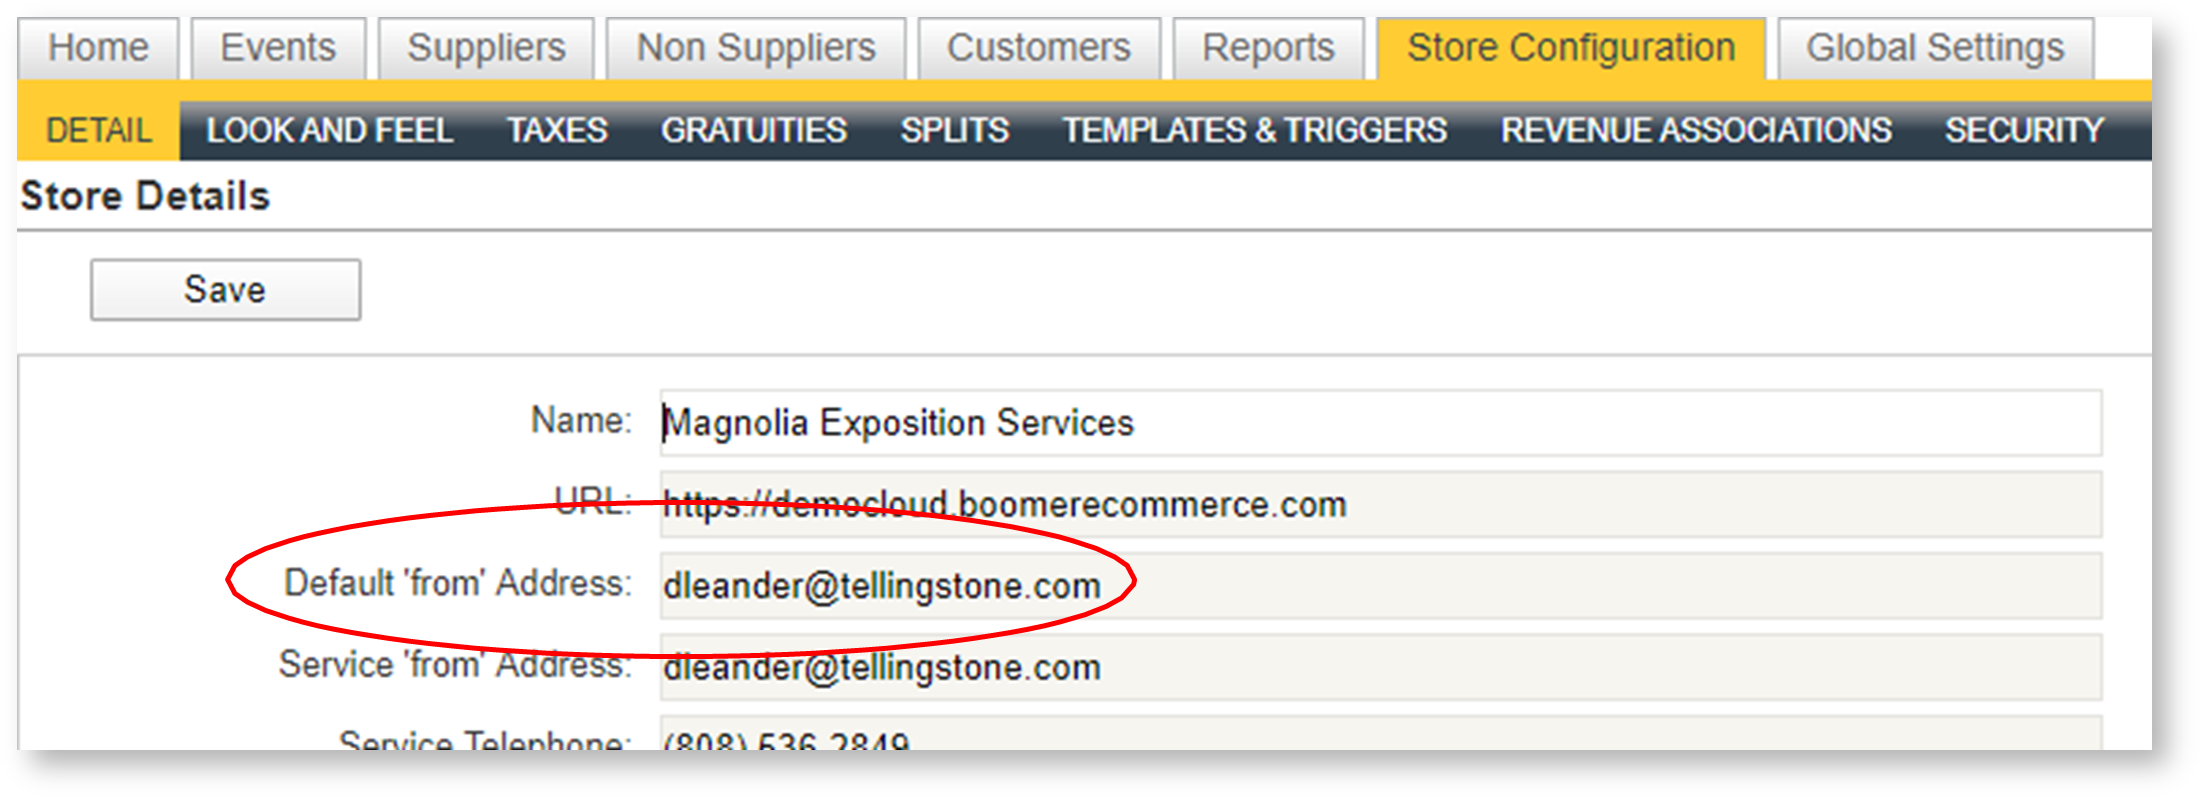
- Next Select “Store Configuration” from the top menu options.
- Ensure that the Service “from” Address field matches the account to be sent from or an authorized user email address from the SendGrid account.
- Next Select “Global Settings” in the top menu options. Then select Security on the left hand side of the main menu.
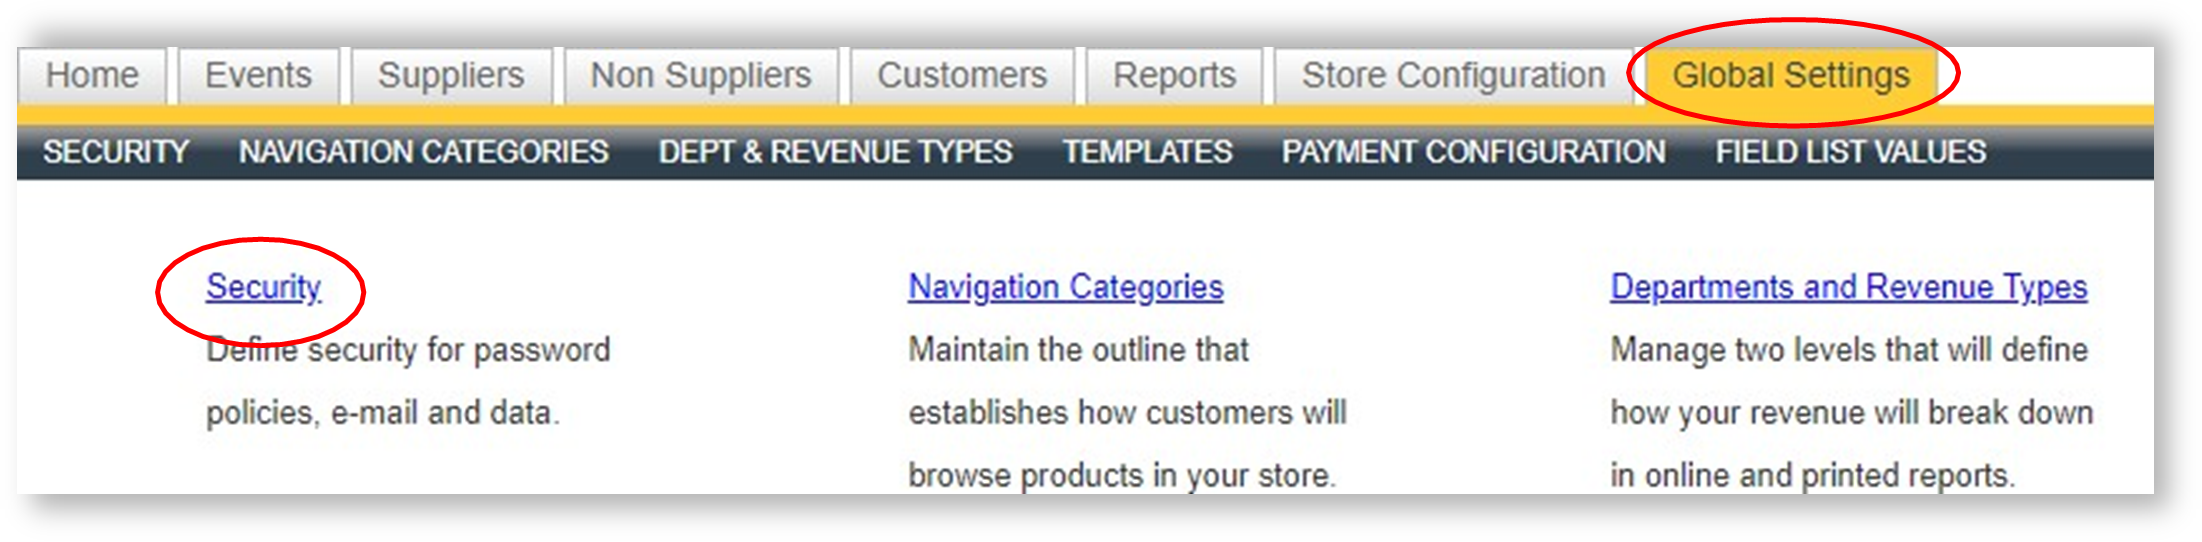
- Select “E-mail” from the righthand menus and fill in all of the fields per the bullets below:
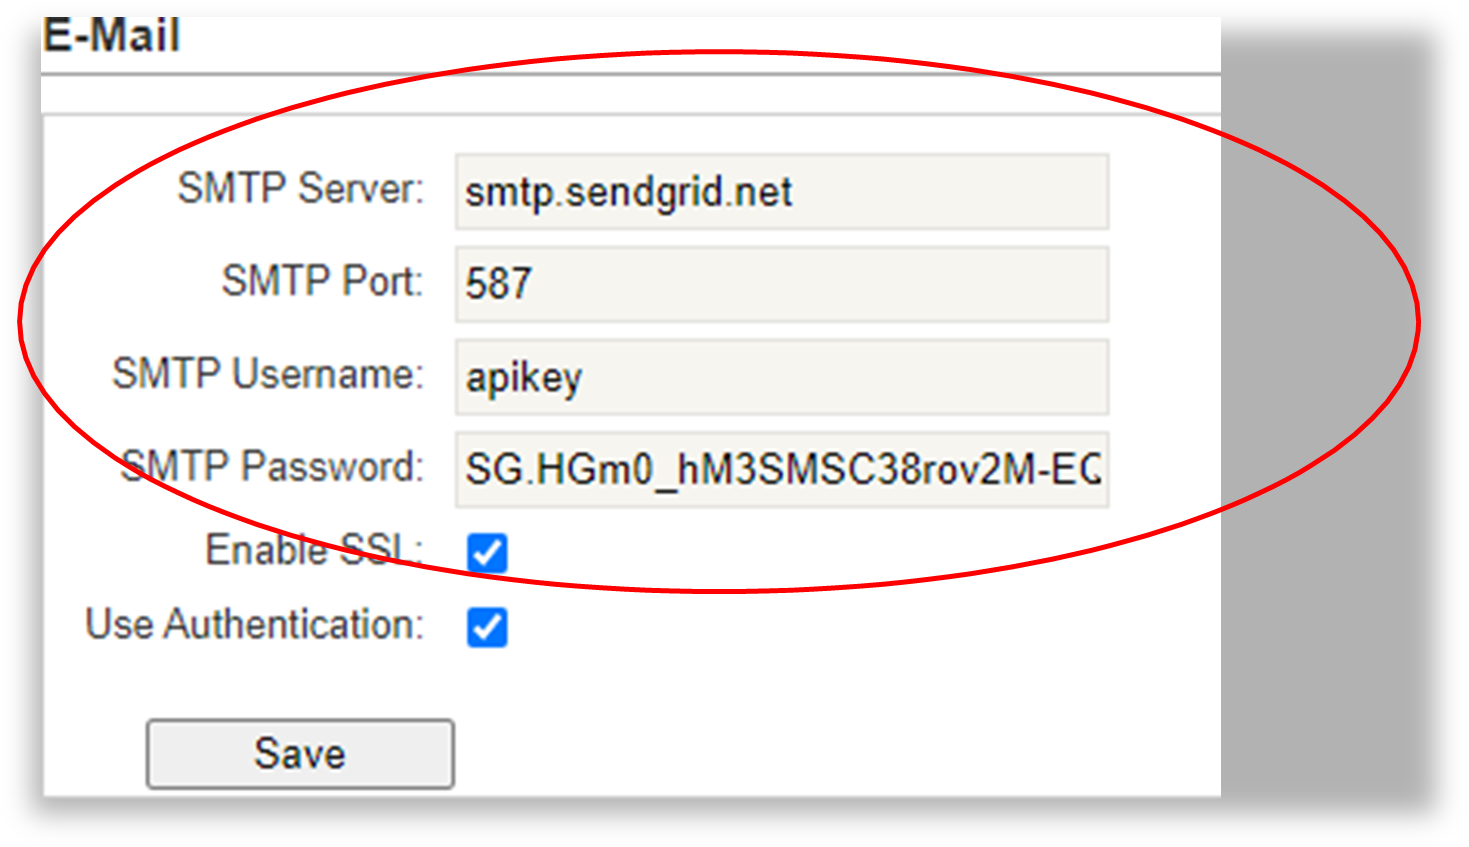
- SMTP Server: “smtp.sendgrid.net”
- SMTP Port: “587”
- SMTP Username: “apikey”
- SMTP Password: “Saved code from SendGrid when you Generate the API Key”
- DO NOT use the code SendGrid show on the API Keys list screen under settings. While this may appear similar to the one you saved when you first generated the API Key, it is actually something
- Enable SSL: “Selected”
- Use Authentication: “Selected”
Fill in italic fields above with the appropriate information for your email/domain settings
- Click Save.
- Confirm all change made in Boomer Commerce have updated.
At this point you should send some test emails from Boomer and check that they work and do not end up in your local spam folders. If you have more specific questions beyond the scope of this guide about the Boomer configuration end of email settings, feel free to reach out to support@boomercommerce.com for additional help.